10 Beard Trimming Tips for Beginners: Pro Results in 10 Minutes
Ready to tame that cheeky beard with confidence and a grin? You’re about to unlock game changing tips that actually fit real mornings.
These tricks help you avoid awkward patchy growth and accidental trimmings that make you look puzzled instead of polished.
Stick with me and you’ll finish with a beard that feels intentional, not accidental. Let’s dive in and get you camera ready for your next selfie night.
1. Start With the Right Tools And Setup
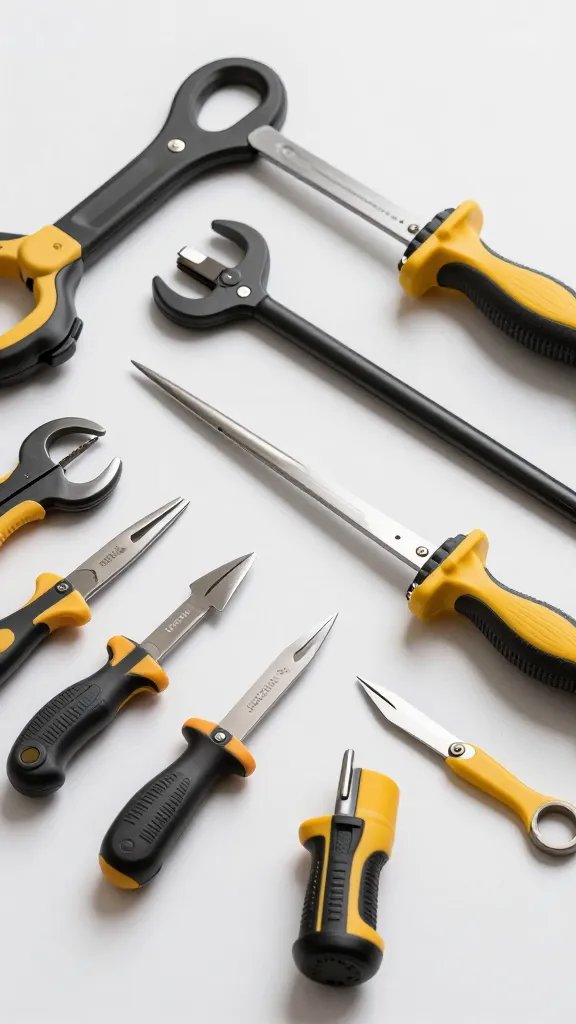
The first step to a clean trim is a solid toolkit. It sounds obvious, but good gear makes bad habits disappear.
Set up a dedicated grooming station, charge your trimmer, and have a sharp pair of barber scissors handy. Your future self will thank you for not hunting in the junk drawer.
Key Elements:
- Quality adjustable beard trimmer
- Sharp small scissors for detailing
- Playful but precise comb (3-6 mm works for most starts)
With the right gear, you reduce pull and snags and you gain consistency in every trim. This is the foundation of your beard journey.
2. Define Your Beard Shape Before You Cut
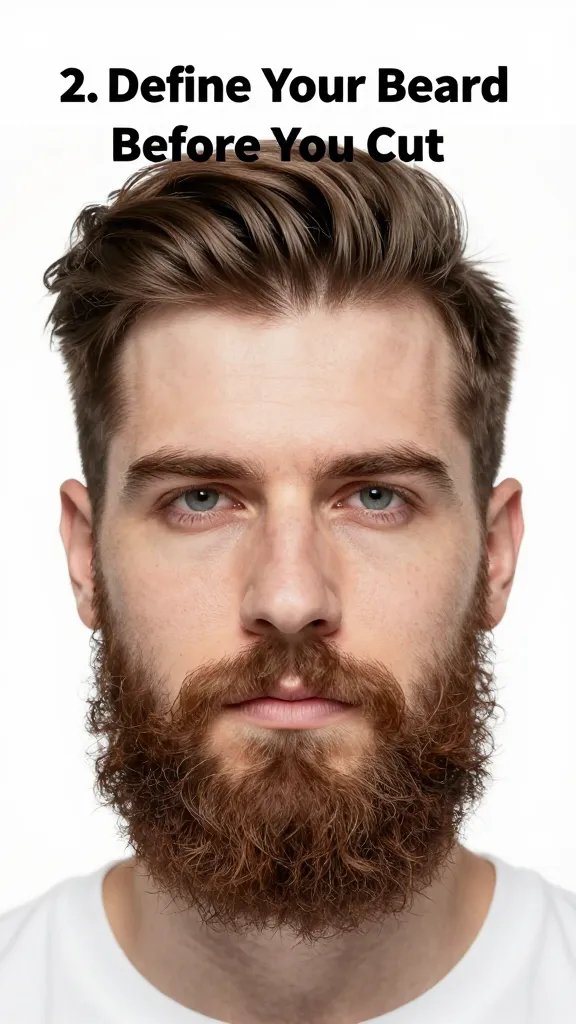
Know your canvas before you sculpt it. A clear shape guides every cut and saves you from over trimming.
Think about your face shape and how your beard fills in. Start with a light guide and adjust as you go to avoid a boxy look.
Tips For a Solid Outline:
- Map the jawline with light pencil marks or a digital mirror
- Decide where sideburns start and end to frame your face
- Keep the neckline natural and sit it a finger width above the Adam’s apple
This plan gives you a confident baseline to trim against, so you stay in control rather than guessing.
3. Trim Dry, Not Wet, For Real World Precision
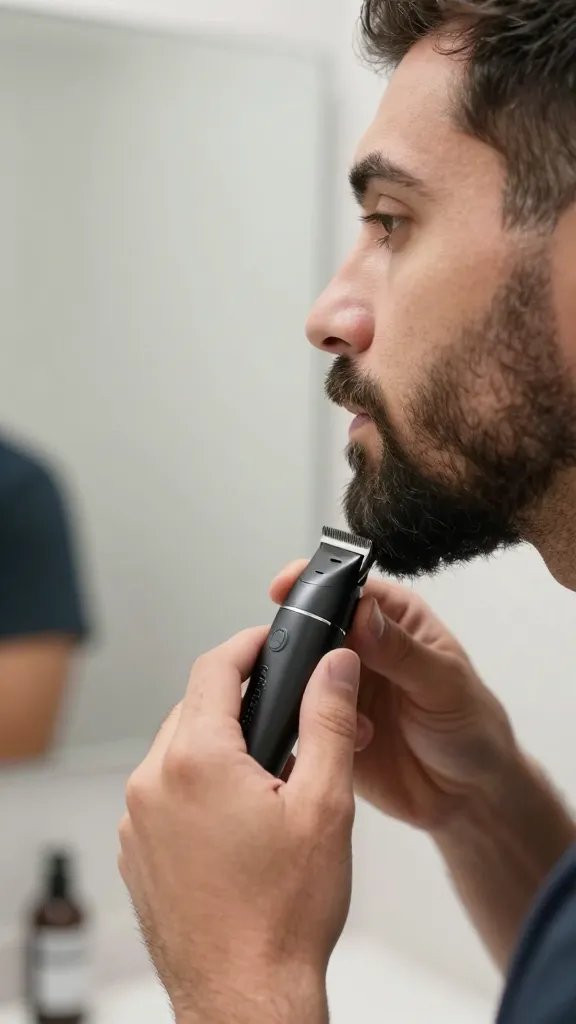
Many beginners trim wet and end up with surprises after washing. Trim dry for accurate length and shape.
Dry trimming helps you see how the beard sits on your face in real life, not in a damp fantasy land.
Why Dry Is Best:
- Hair contracts differently when dry, so you’ll avoid over cutting
- You can quickly adjust uneven patches as you go
- It’s faster for busy mornings and casual grooming
FYI, if you want to blend, you can do a light pass with clippers after a quick wash, but start dry for the main shape.
4. Master The Guard Lengths And Blending Trick
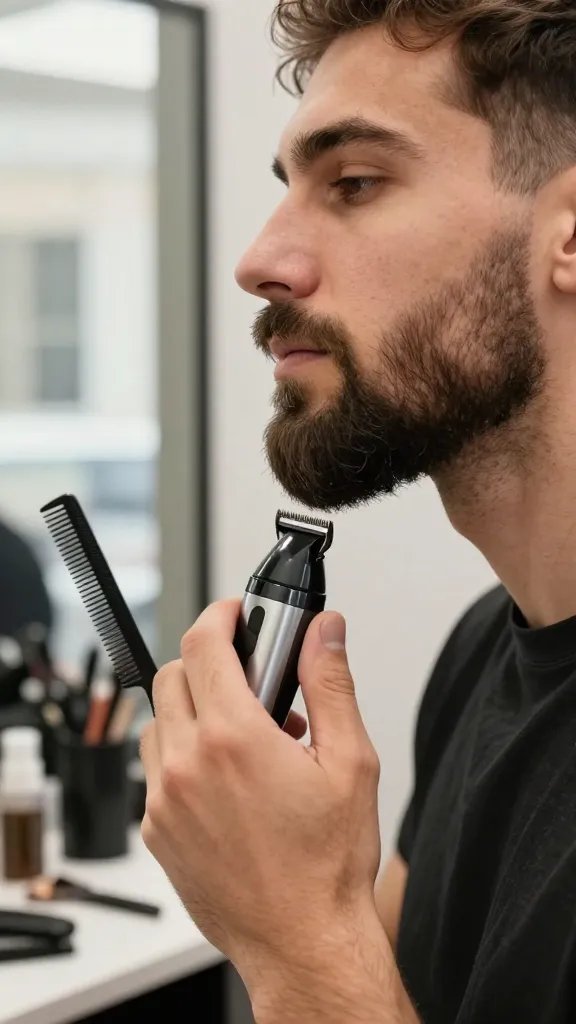
Guard lengths are your friends and your guide. Start longer and gradually work toward the style you want.
Blending between lengths creates a natural transition that avoids that chopped look. Take tiny passes and check often.
Blend Like A Pro:
- Use successive guard sizes (e.g., 6mm to 4mm to 2mm)
- Always comb between passes to lift hair evenly
- Spend extra time around the cheeks and neck to avoid harsh lines
Consistent blending gives you a well groomed, polished finish every time you look in the mirror.
5. Focus On The Cheeks First, Then The Neckline

Your cheeks set the overall silhouette, while the neckline keeps it clean and professional.
Cheek trimming shapes density and coverage, so you can avoid a mysterious beard island on your jawline.
Smart Steps:
- Define cheek lines with a light hand and small downward strokes
- Leave the neckline for last to avoid over trimming the obvious areas
- Use a trimmer with a steady hand and take breaks to check symmetry
When your cheeks sit right, your beard instantly looks fuller and more intentional.
6. Tackle Common Patch Issues With A Strategic Approach
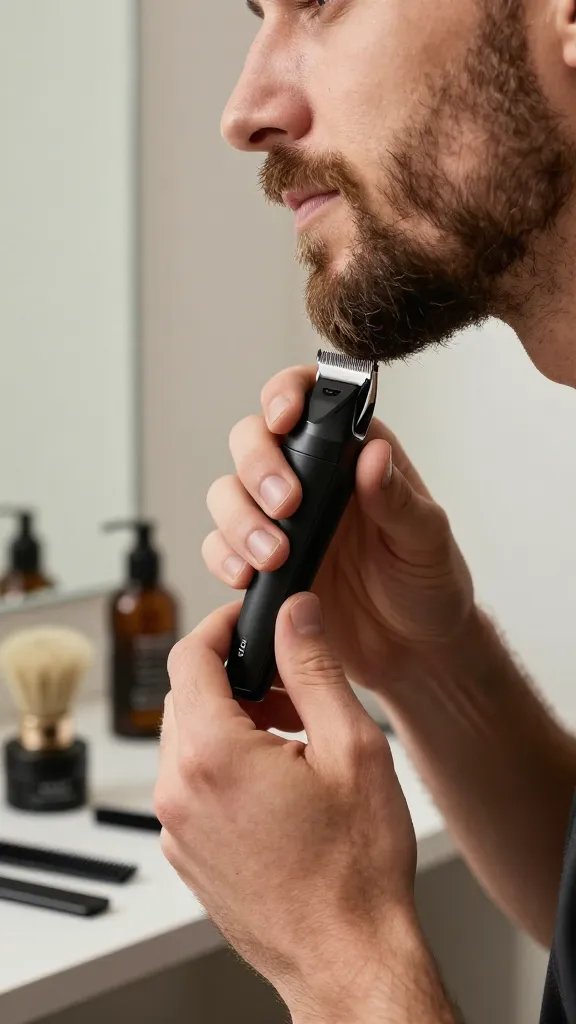
Patches happen to the best of us. The fix is simple, patient, and surprisingly satisfying.
Identify sparse areas and gradually fill them in with small, controlled passes. Don’t rush or you’ll overdo it and create a donut joke around your face.
Patch Buster Kit:
- Fine comb or brush to lift hairs
- Small clipper guard for careful fill ins
- Steady hand and a mirror in good light
With patience, patchy zones fill in and your beard gains a smoother, more even appearance.
7. The Neckline Is Your Secret Weapon
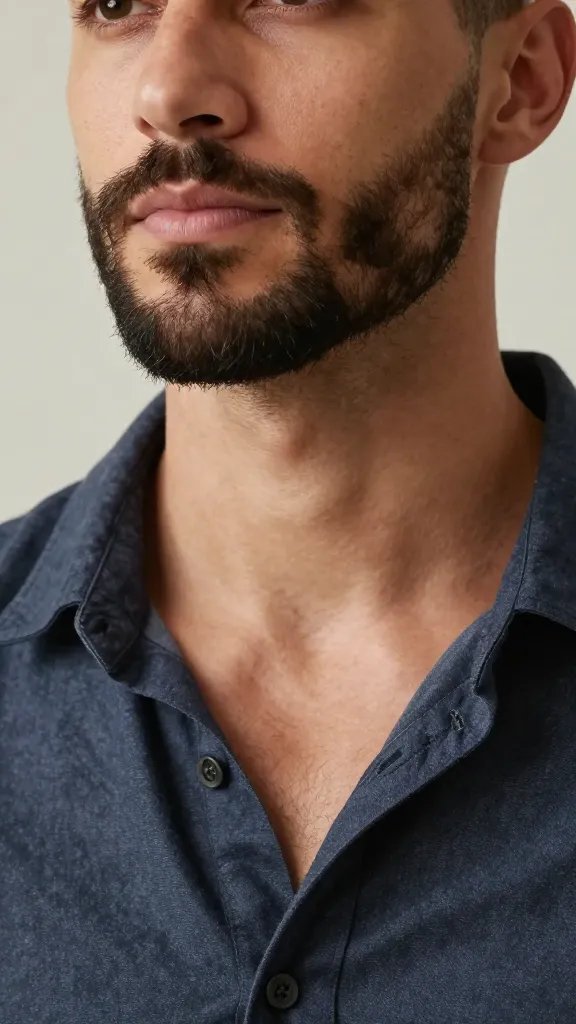
No one notices a messy neckline until it screams hey I forgot to shave there. A clean neckline instantly sharpens your look.
Find a natural line just above the Adam’s apple and keep it curved, not a straight edge. Your beard will look structured without looking stiff.
Neckline Quick Guide:
- Place two fingers above the Adam’s apple to mark the base
- Follow a smooth curved line that hugs your jaw
- Trim only part of the way up to avoid a gap right under the chin
Benefits show up in every photo and meeting you have where people lean in for a closer look at your grooming game.
8. Detailing For The Fine Print: Moustache, Edges, And Corners
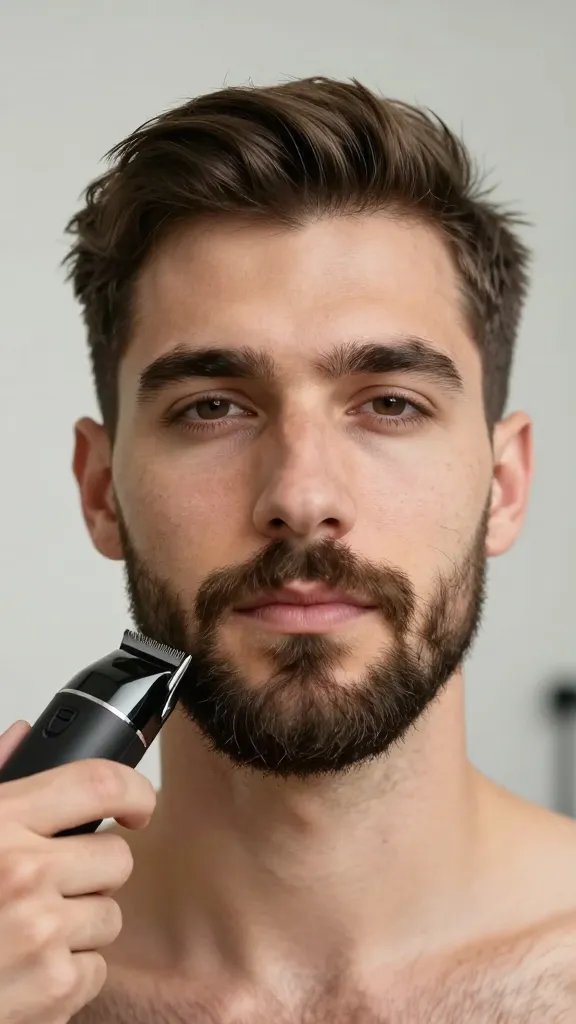
Details separate a everyday beard from a serious look. Pay attention to mustache length and edge lines.
Trims here set the overall polish and remove the stray hairs that shout I forgot about my moustache.
Detailing Checklist:
- Trim moustache below the lip line for a neat, controlled look
- Clean up after the corners of the mouth to avoid a ragged vibe
- Edge the cheeks with tiny, precise motions for crisp lines
These small touches elevate your entire beard by degrees and keep you looking sharp at all times.
9. Hydration And Care Make Your Beard Boss Material
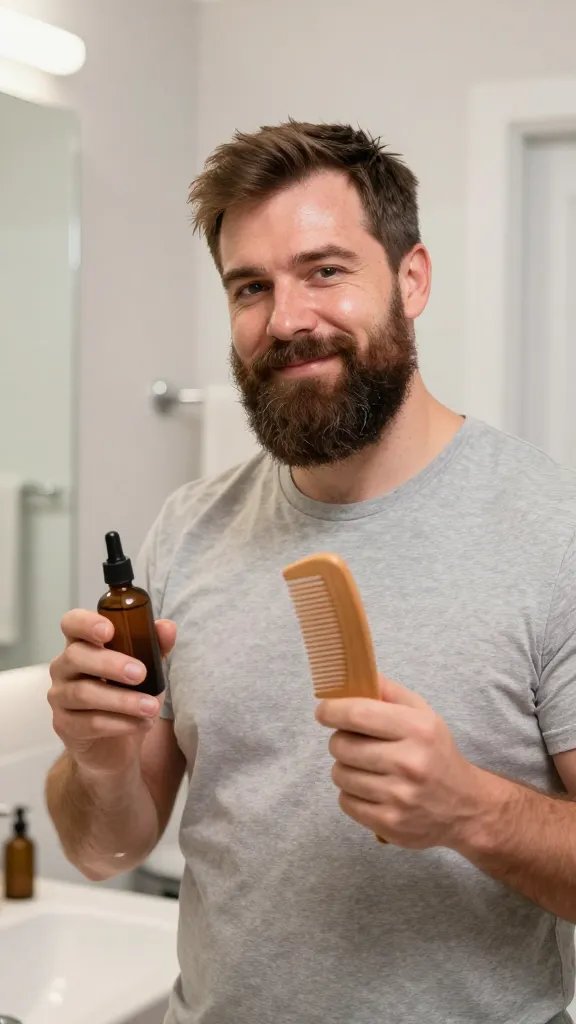
Care routines matter as much as trims. Hydration and a bit of love prevent itchiness and dullness.
Use a lightweight beard oil or balm daily to keep hairs soft, boost shine, and reduce frizz. Your beard will feel amazing, and you’ll actually want to groom more often.
Core Care Tips:
- Apply a few drops of beard oil after showering
- Brush or comb to distribute evenly
- Use a weekly wash to avoid product buildup and stray flakes
Smart maintenance means fewer large trimming sessions and more confidence in daily styling.
10. Practice, Review, Repeat: Build A Personal Trim Schedule
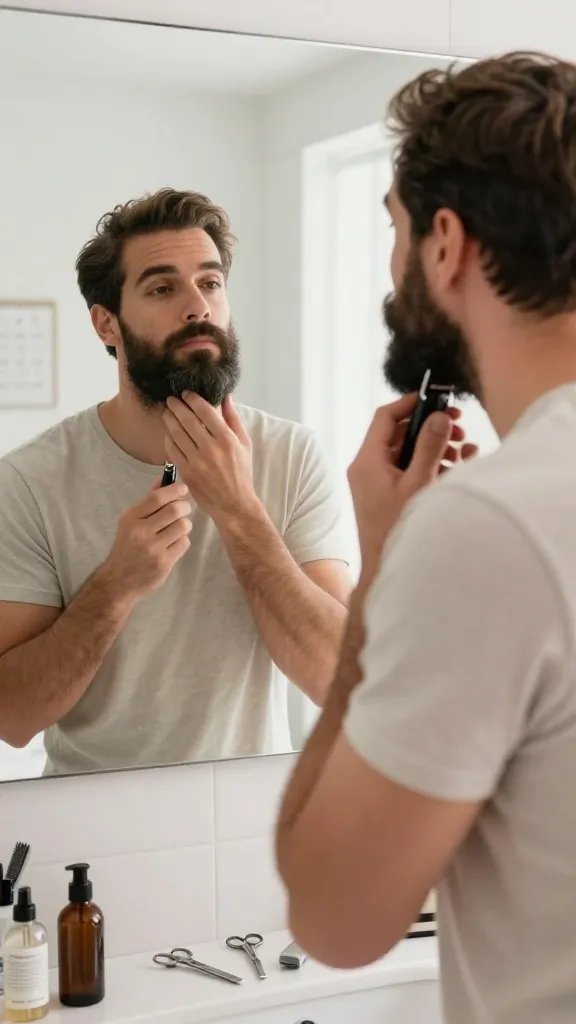
Consistency beats perfection, especially at the start. Create a simple routine you can actually follow.
Schedule a 10 minute trim every week or two, depending on growth. Review photos to track progress and adjust shape as needed.
Simple Schedule Idea:
- Day 1: Quick trim and edge touch ups
- Day 7: Check symmetry and adjust lines lightly
- Week 2: Full trim with gradual length changes if needed
Regular practice helps you nail your signature look and reduce anxiety around the mirror.
Ready to show off a beard you actually enjoy grooming? Grab your tools, pick a style, and start tonight. Trust me, your future mirror selfies will thank you.